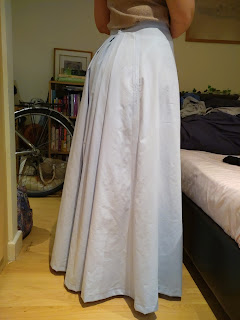
There was a very particular style that I was wanting for my wedding top and it has been so stuck in my head that I didn't want to produce anything else. There was a lot of searching online for the right pattern, but, even though the style is quite simple, I just couldn't find one that looked quite right. I did, however, find a blog that described how to make something similar to what I was looking for (Off-the-shoulder Ruffle Top by We All Sew) and decided I would use this as the starting point for the design I wanted.This top was to be an off the shoulder top and part of the look that I was going for was to have lace along the top and around the shoulders. However, I couldn't quite work out how I was going to make that work on a top that needed wasn't going to have any fastenings and which would hopefully be able to take some movement. Then I realised that there is actually elastic lace out there, so I headed over to Minerva (which is fastly becoming my go to shop for everything sewing related). When it arrived in the post it was actually much more beautiful than I thought it was going to be and it has the stretch it needs whilst still sitting really nicely along my skin. The rest of the top was made up using the cotton bed sheets I had used to make the skirt with, but which I had put aside before dying.
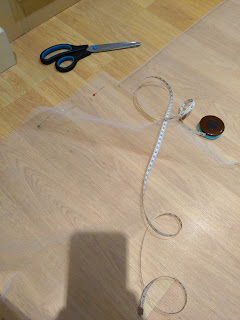
My plan was to just draw the pattern straight onto the fabric and then cut it out from there, but I got a bit nervous about that so I decided to draw it out on paper first. As I don't have any pattern paper but do have a lot of paperwork from when I did a mini declutter a little while ago I decided to just Sellotape those together and use that instead. I double checked all of my measurements and then transferred this information onto the paper adding a 1.5cm seam allowance. And yes, that is a bowl you see that I used to help me draw the circular sections underneath the arms.

The information on the website I edited this pattern from tells you to put out the front and back pieces exactly the same. However, I have a small back and relatively large chest, so this would mean that the top wouldn't actually sit properly on my and would end up showing off my bra at the front of the arm holes. To counter act this I increase the width of the front piece and reduced the width of the back piece, so I now have two pattern pieces which make up the main body of the top.
I started by sewing up the side seams of the body to check the fit and, once I was satisfied with this, did a run and fell seam along these sides and tidied up the edges of the arms. It was then time to work out what size I wanted the lace section to be and where exactly on my shoulders I wanted it to sit. I originally sewed up the lace based on measurements I took of my shoulders, but it was too lose so I tightened it a little.

Next up was attaching the main body to the lace trim and, I'm not going to lie, this did take quite a while. Firstly, the lace needed to sit a lot further down the top than I originally thought it would need to. Even when I got this right and had sewn it all together it still didn't sit right and I had to unpick it and try and fit more of the cotton fabric into the lace. As you have to stretch the lace to work the non-stretching cotton in I was worried that having to do this repeatedly would over- stretch elastic in the lace so that it no longer functioned properly. Thankfully though, this wasn't the case and the top now fits exactly how I wanted it to.
The last thing was to check the length of the top and then hem it with the basic fold over twice and sew method.
Now that it's all finished I am very happy with the results. I am a little worried that I've now made the lace a little bit too tight, but we'll see how it goes. I'll try it on again a little closer to the time and make any changes I need to then. It feels good to have ticked off something else on the list of things I need to craft for the wedding. Whilst I was making this top I was also making the matching masks we wanted to have just in case things changed with the pandemic again. So now what's left it the lace overskirt, my partner's tie, and knitting my shawl. I'm getting here, which is great and is making me feel a whole lot less stressed than I was before.